The Multi-Log Logdump is designed to be used with a pond and only with 36 inch gauge track. It is set up similar to the log dump on my Clear Lake route and uses the same approach and following trestles to complete the model.
Log Dump Approach Trestle kuid 86661:38012
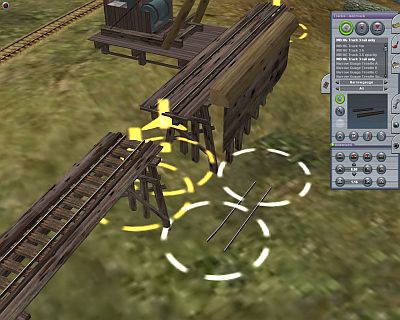
Place the dump next to a depression where your pond will be placed. Select the category "narrowguage" and the MB Rail Only track and place a segment next to the dump. You will also need the approach trestle that is part of my original log dump set. It is under "logging sawmill". Select the vertex height tool and click the logdump vertex. This is your reference height for the connecting tracks. You can adjust the height of the log dump slightly by altering the terrain under the perimeter logs.
Mike_10 36" gauge No Rail Track kuid:35412:38061
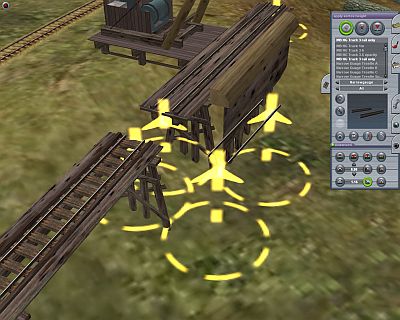
Once you have the dump settled in place and your track ready. Adjust the vertex height of the connecting tracks to match the log dump vertici.
Connect the rail only track to the dump and then the trestle. The reason to do this is because the trestle is a "bridge" object and will not connect directly to the log dump.
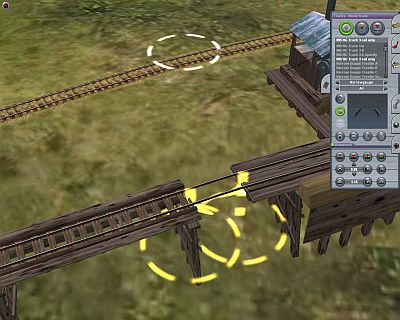
Then move the vertex of the trestle flush with the log dump. Keep everything as straight as possible.
Repeat the process for the other side. Remember that the trailing track has to be as long as you longest consist unless it is made into a siding.
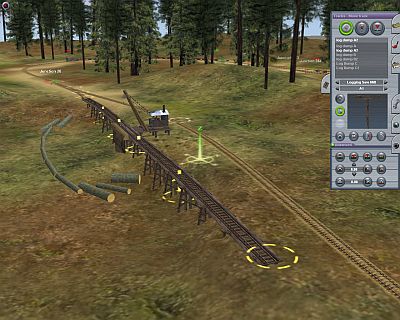
Adjust the gradients of the trestle pieces as needed and integrate into the rest of your trackplan. You can adust the height of your pond water to meet the center of the perimeter log diameters.
The industry functions of the log dump are selectable using the "?" button in surveyor under the scenery tab.
When operating, each log car must be stopped under the A-frame in order to be unloaded. The unloaded logs will show up in the pond.